Your first generation in five minutes
Do these steps in order after signing up and you'll see AI-written prose fastest.
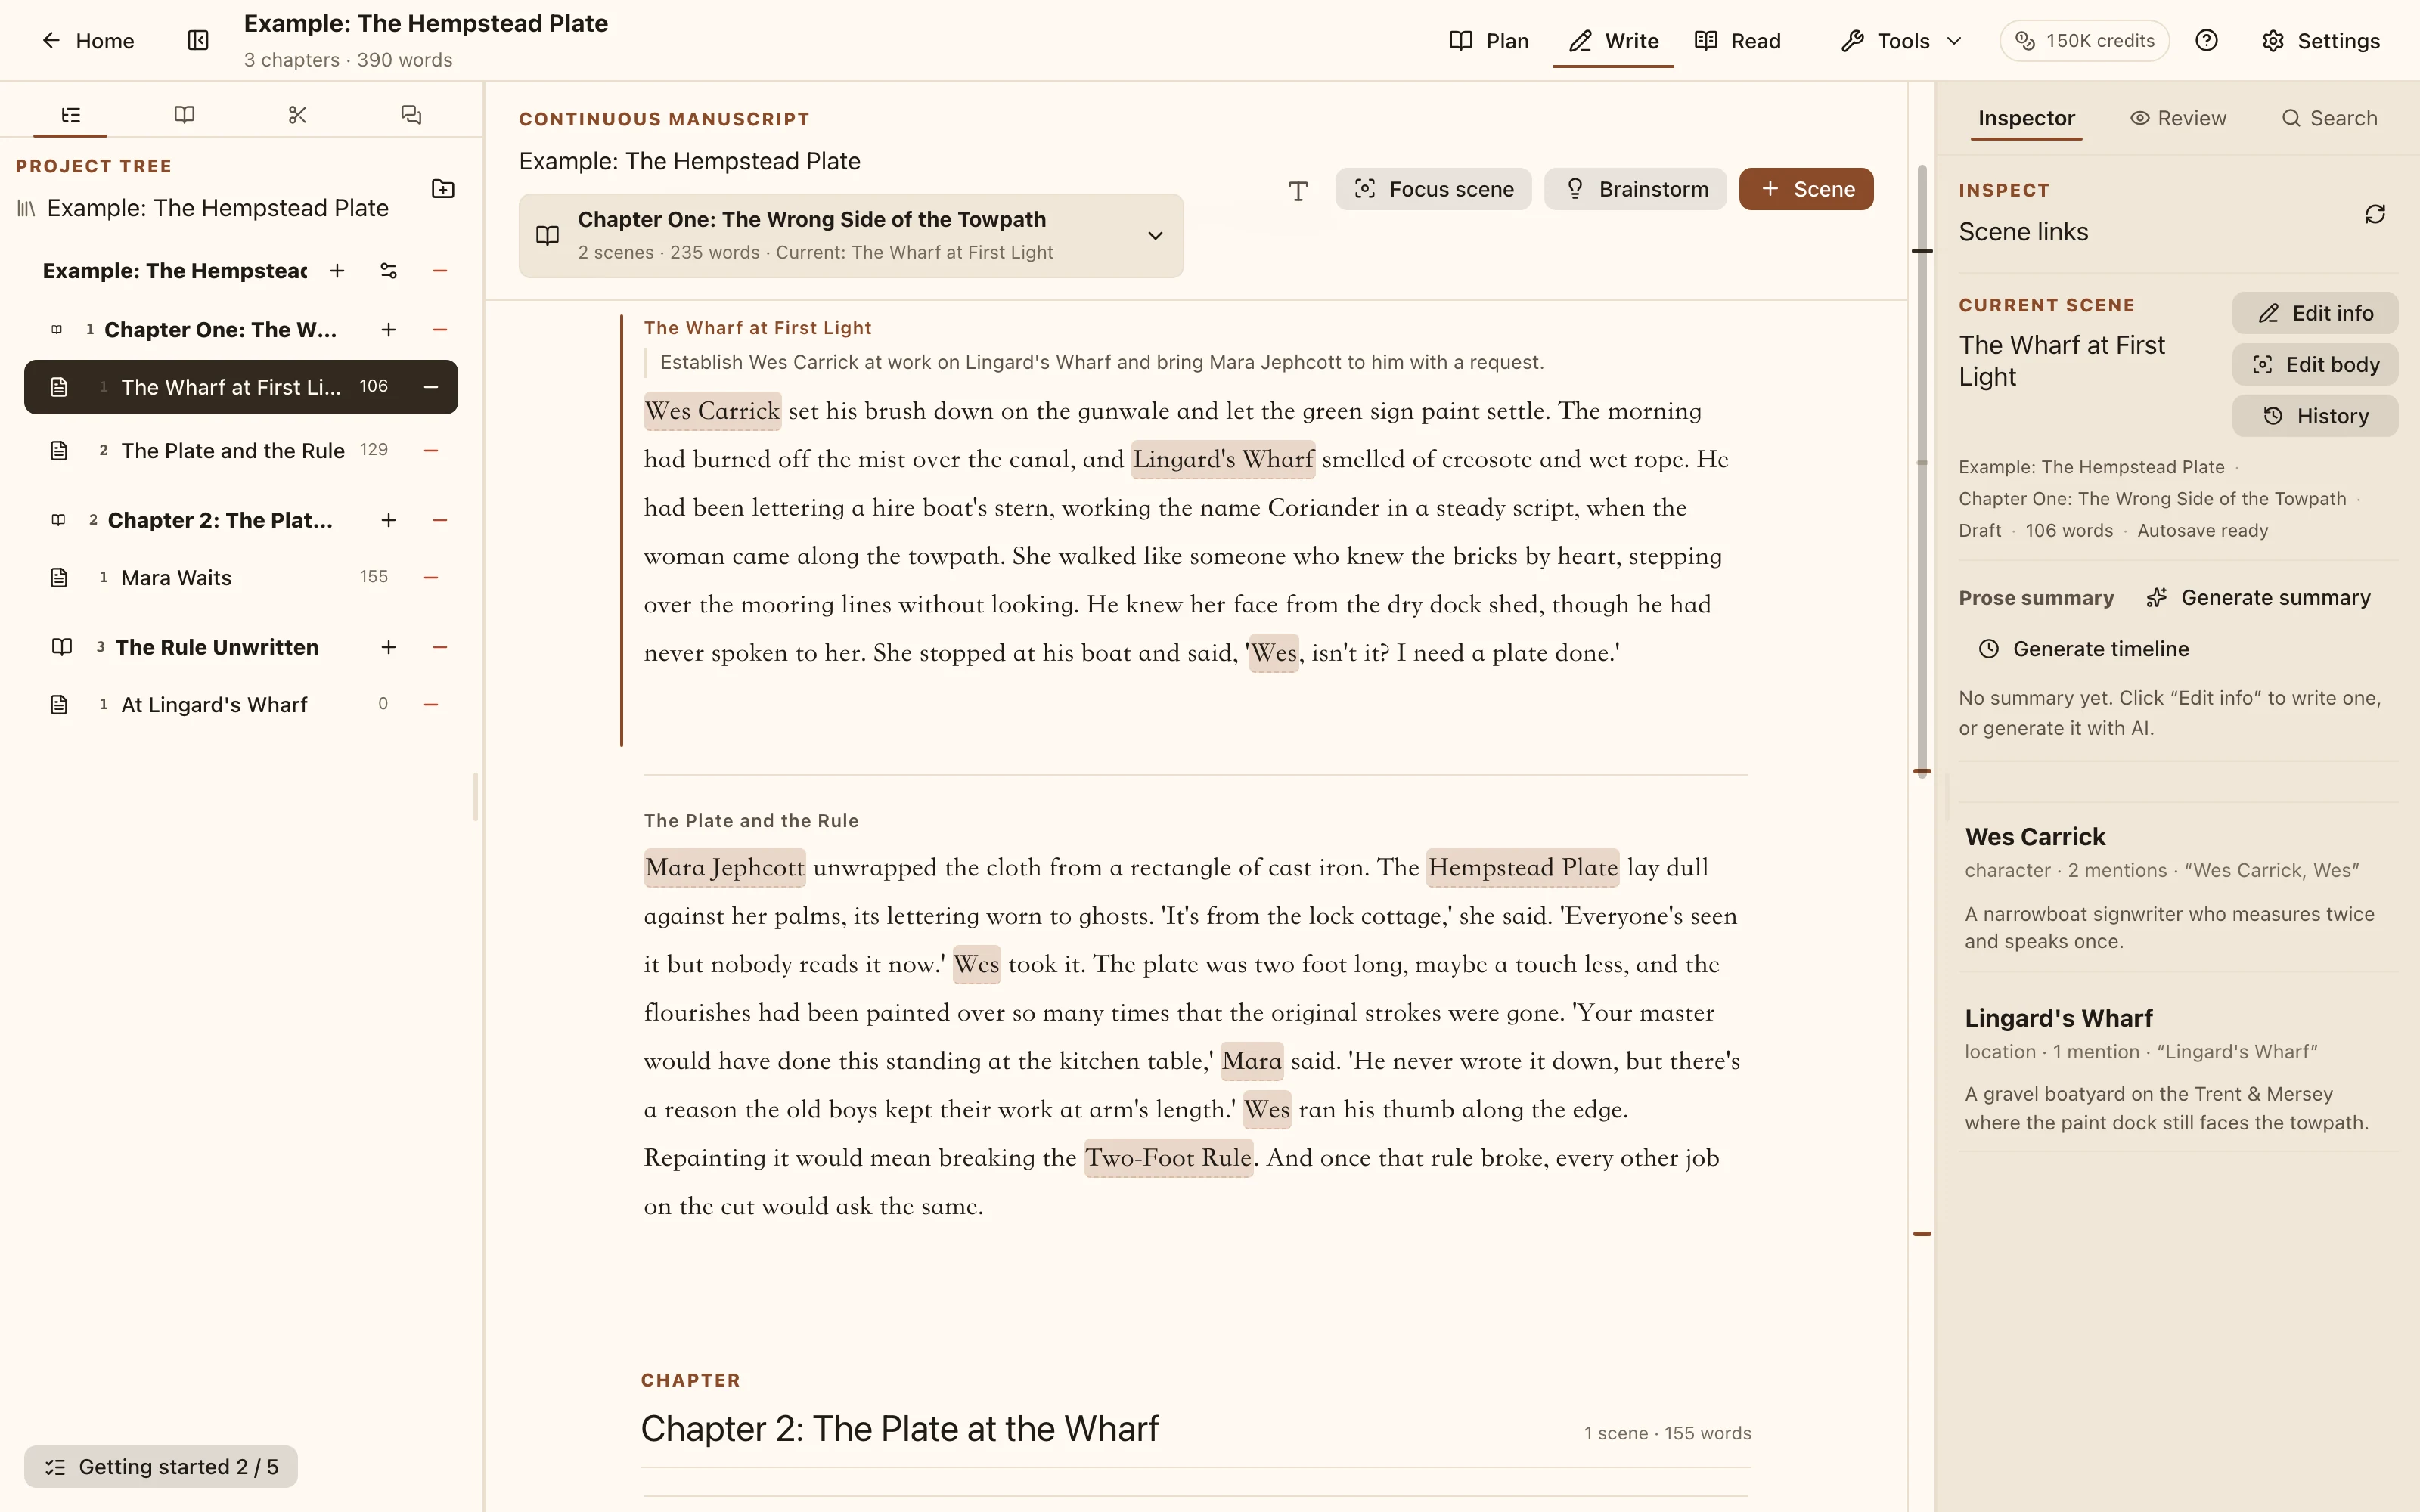
Workspace interface There's a getting-started checklist on the dashboard (in the workspace it's the small button in the bottom left — click to open it). These are its steps. You can hide it at any time without losing progress.
Once the first five are done the checklist switches to a second set of three, about keeping a multi-thread story straight: write one line of endgame, link two codex entries, run a consistency check.
1. Create a project
Click "Create your first project" on the dashboard. A name is the only required field; everything else can change later.
Two fields are worth filling in now: under "After it's created" pick Plan with AI first (the default), which drops you into Plan mode; and write a line or two in "Description" — it becomes background for the AI, and it is prefilled into the instruction box when you open Generate plan in the next step, so you never type it twice.
A project is one work, and it can hold several books. Creating a project automatically adds one book with the same name, but not a chapter or a scene — that step is yours, or the AI's.
2. AI is already on (no key needed)
This step starts done — skip straight to step 3 if you like.
NovelKnow hosts the models. Signing up puts 150,000 points on your account, good for 14 days. The provider selector in every generation dialog already sits on "NovelKnow" with a model chosen, so a brand-new account can hit Generate without changing anything. Each run bills points at the upstream cost, and the dialog shows what's left.
If you'd rather use your own key
Your own API key doesn't spend points. Open ⚙ → AI providers → New provider.
The top of the form has presets for the usual suspects (DeepSeek, OpenRouter, OpenAI, Kimi, Qwen, SiliconFlow, local Ollama). One click fills in the endpoint and a default model — all you add is your key. There's a signup link next to the field.
Hit "Test connection" first; pulling a model list means it works. Then "Save provider".
Keys are stored encrypted under your account and only ever shown masked.
If a provider is unreachable from where this is deployed, expand "Outbound proxy" at the bottom of the same dialog. That address resolves from the deployment server, not from your own machine.
3. Have the AI outline some chapters
A new project lands in Plan mode. Click "AI generate plan" and describe the story in a sentence or two.
The AI produces a chapter skeleton first; you adjust it, then expand each chapter into scenes.
Nothing touches your project until you click "Apply to project". Regenerate as often as you like — there are no side effects.
4. Add your first codex entry
Switch the left panel to Codex and click the + in the top left (it reads "New Codex" on hover).
Rename the placeholder "New entry" to a real name (say, a character), add a description, and hit Save — the step only counts once it has a name. The entry name automatically becomes an alias, so when you write that name in the manuscript it is highlighted and pulled into the AI's context — nothing extra to configure.
If the character goes by other names, add those as aliases under the Settings tab.
5. Write a little, then let the AI continue
Switch to Write mode. If there's no chapter yet, "Create first chapter" creates the chapter and its first scene together.
Put the caret in the text and a "Generate" button floats up; select a passage and you get rewrite / expand / shorten / describe.
If the scene already has a beat from your plan, the dialog's "Scene beat" field arrives filled in — no retyping. The continuous manuscript also labels each scene, and shows the beat above any scene you haven't written yet.
When it finishes you get keep / regenerate / discard. Discard restores the passage exactly as it was, so experimenting costs you nothing.
The same place shows "this generation used N context items" — expand it to see exactly which codex entries and surrounding scenes went in. When the AI writes something wrong, look here first.
Next
- Teach it your voice: Tools → Style profiles, extract a style guide from reference prose.
- Decide how a passage goes before writing it: tick "Draw a writing plan first" in the generation dialog for three alternative approaches.
- Too many options? The generation dialog's advanced section is collapsed by default and you rarely need it.